Solar panel installation guide
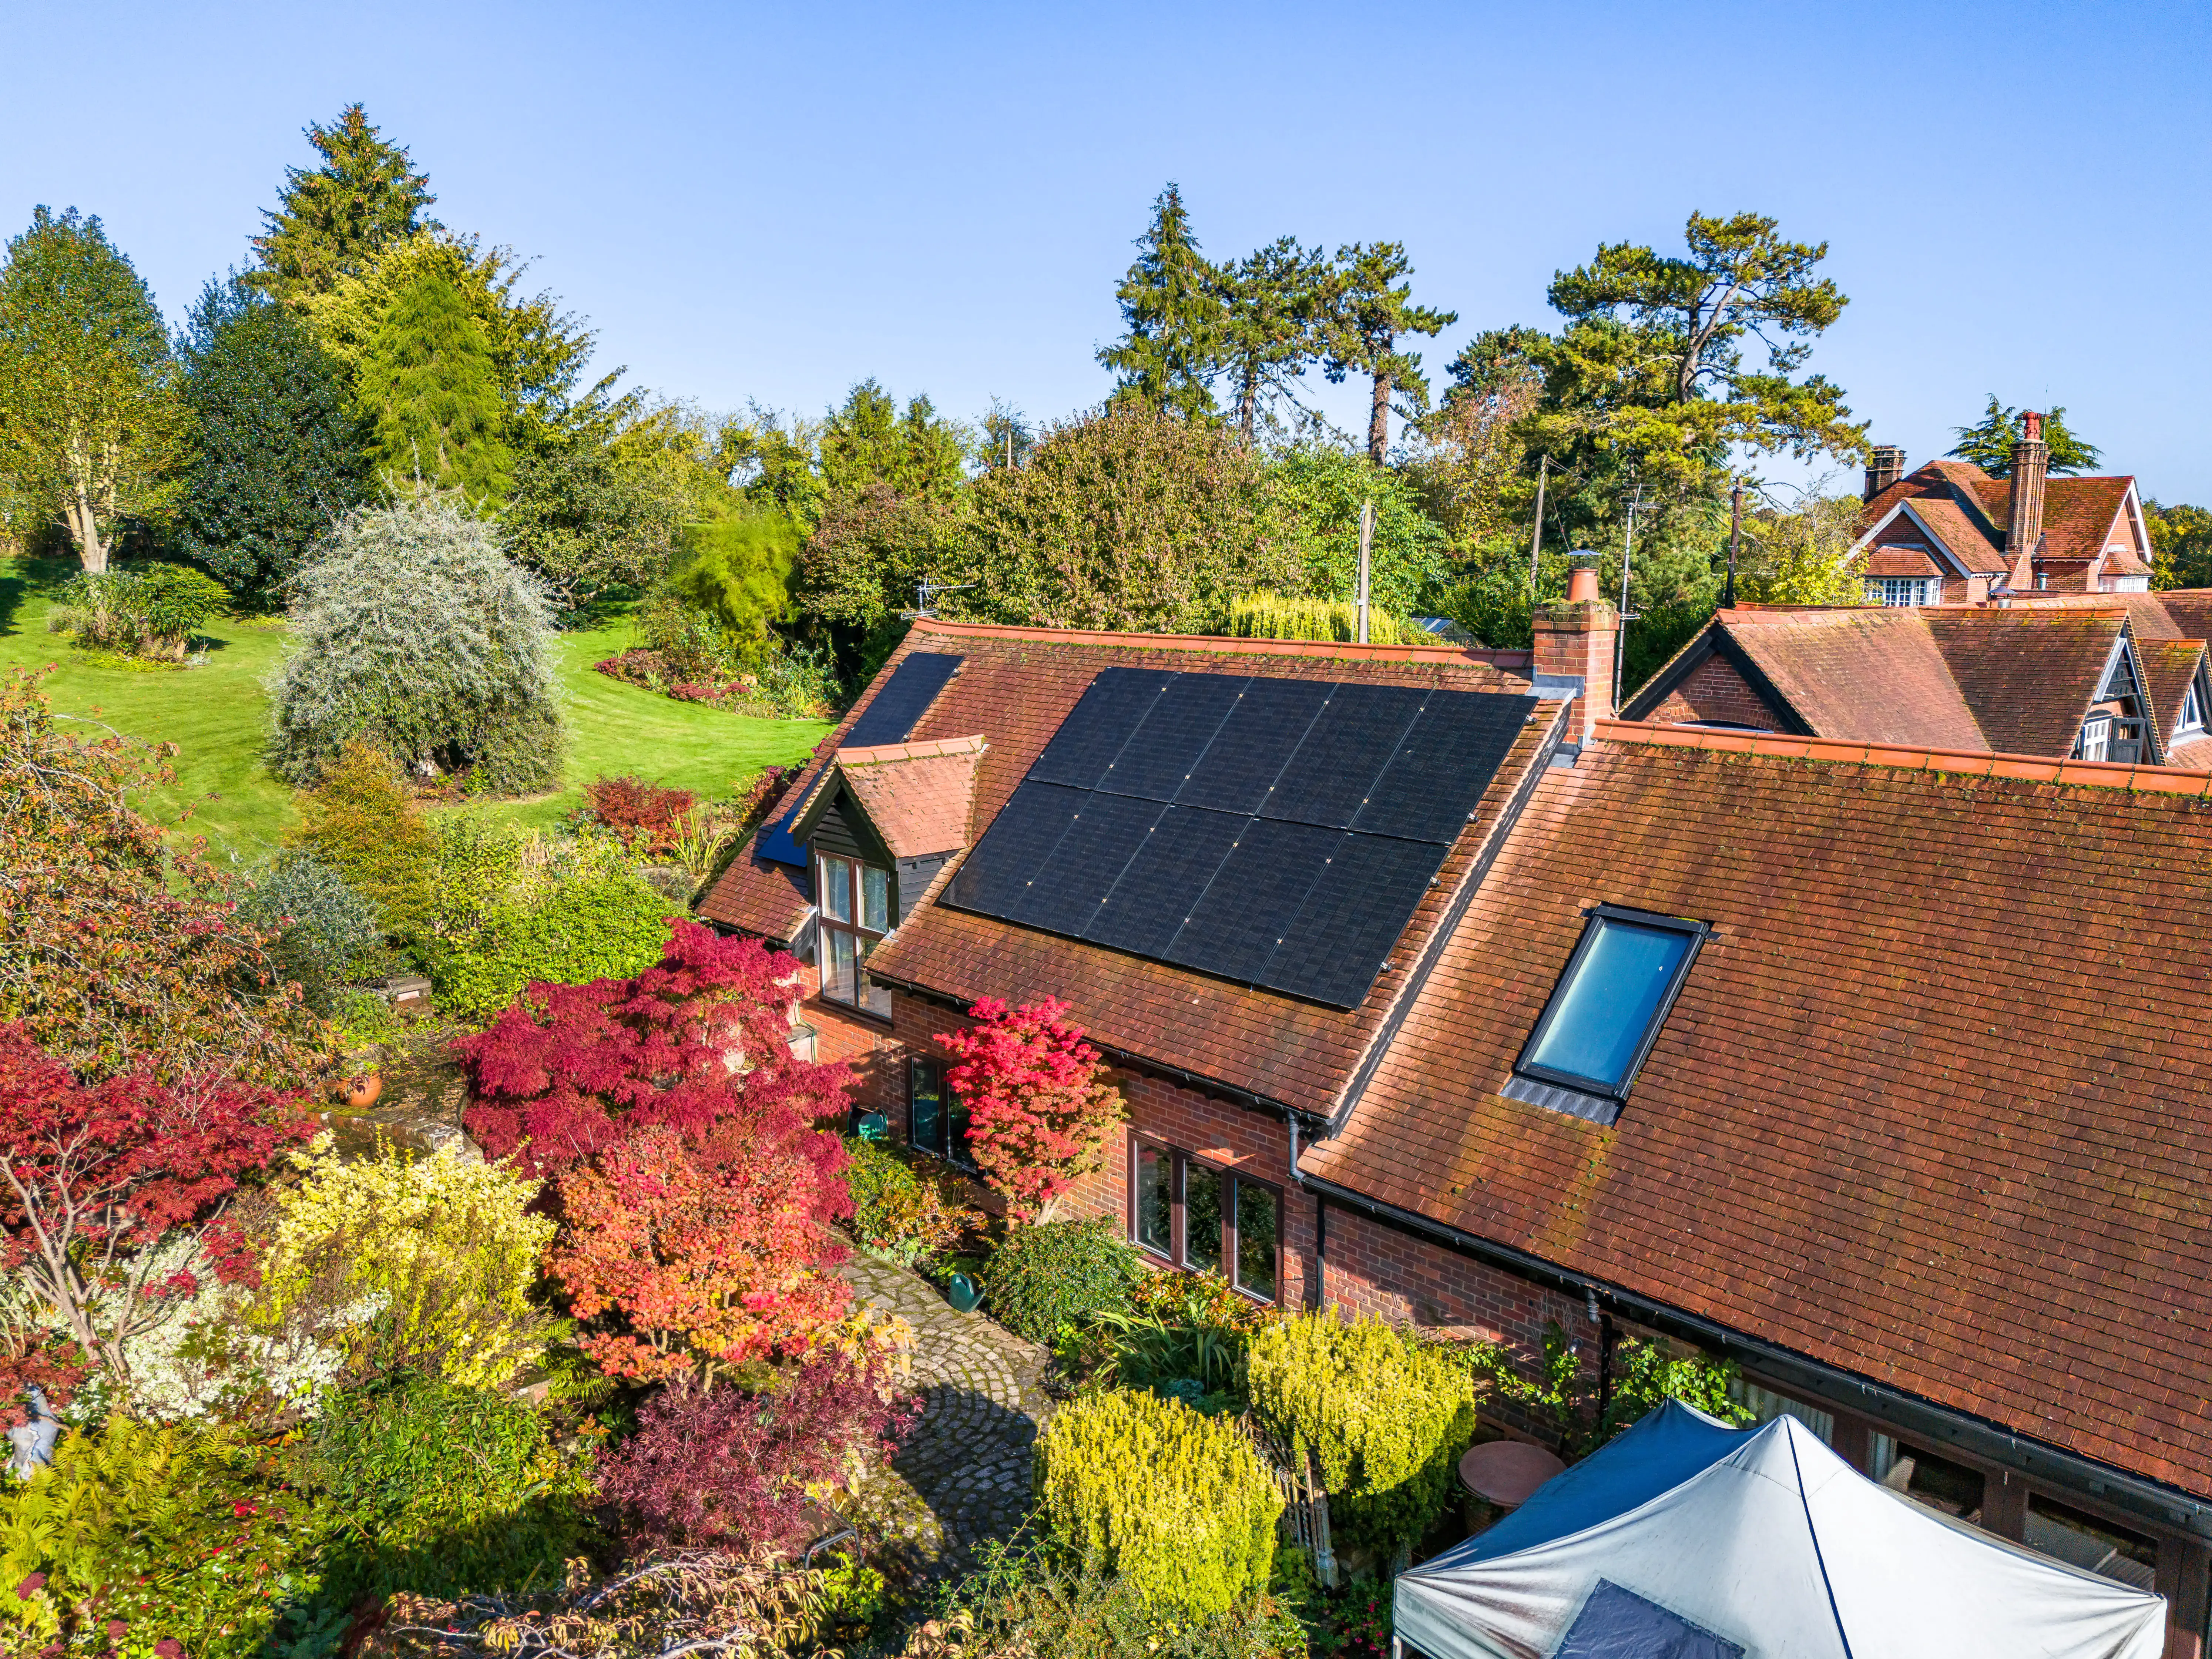
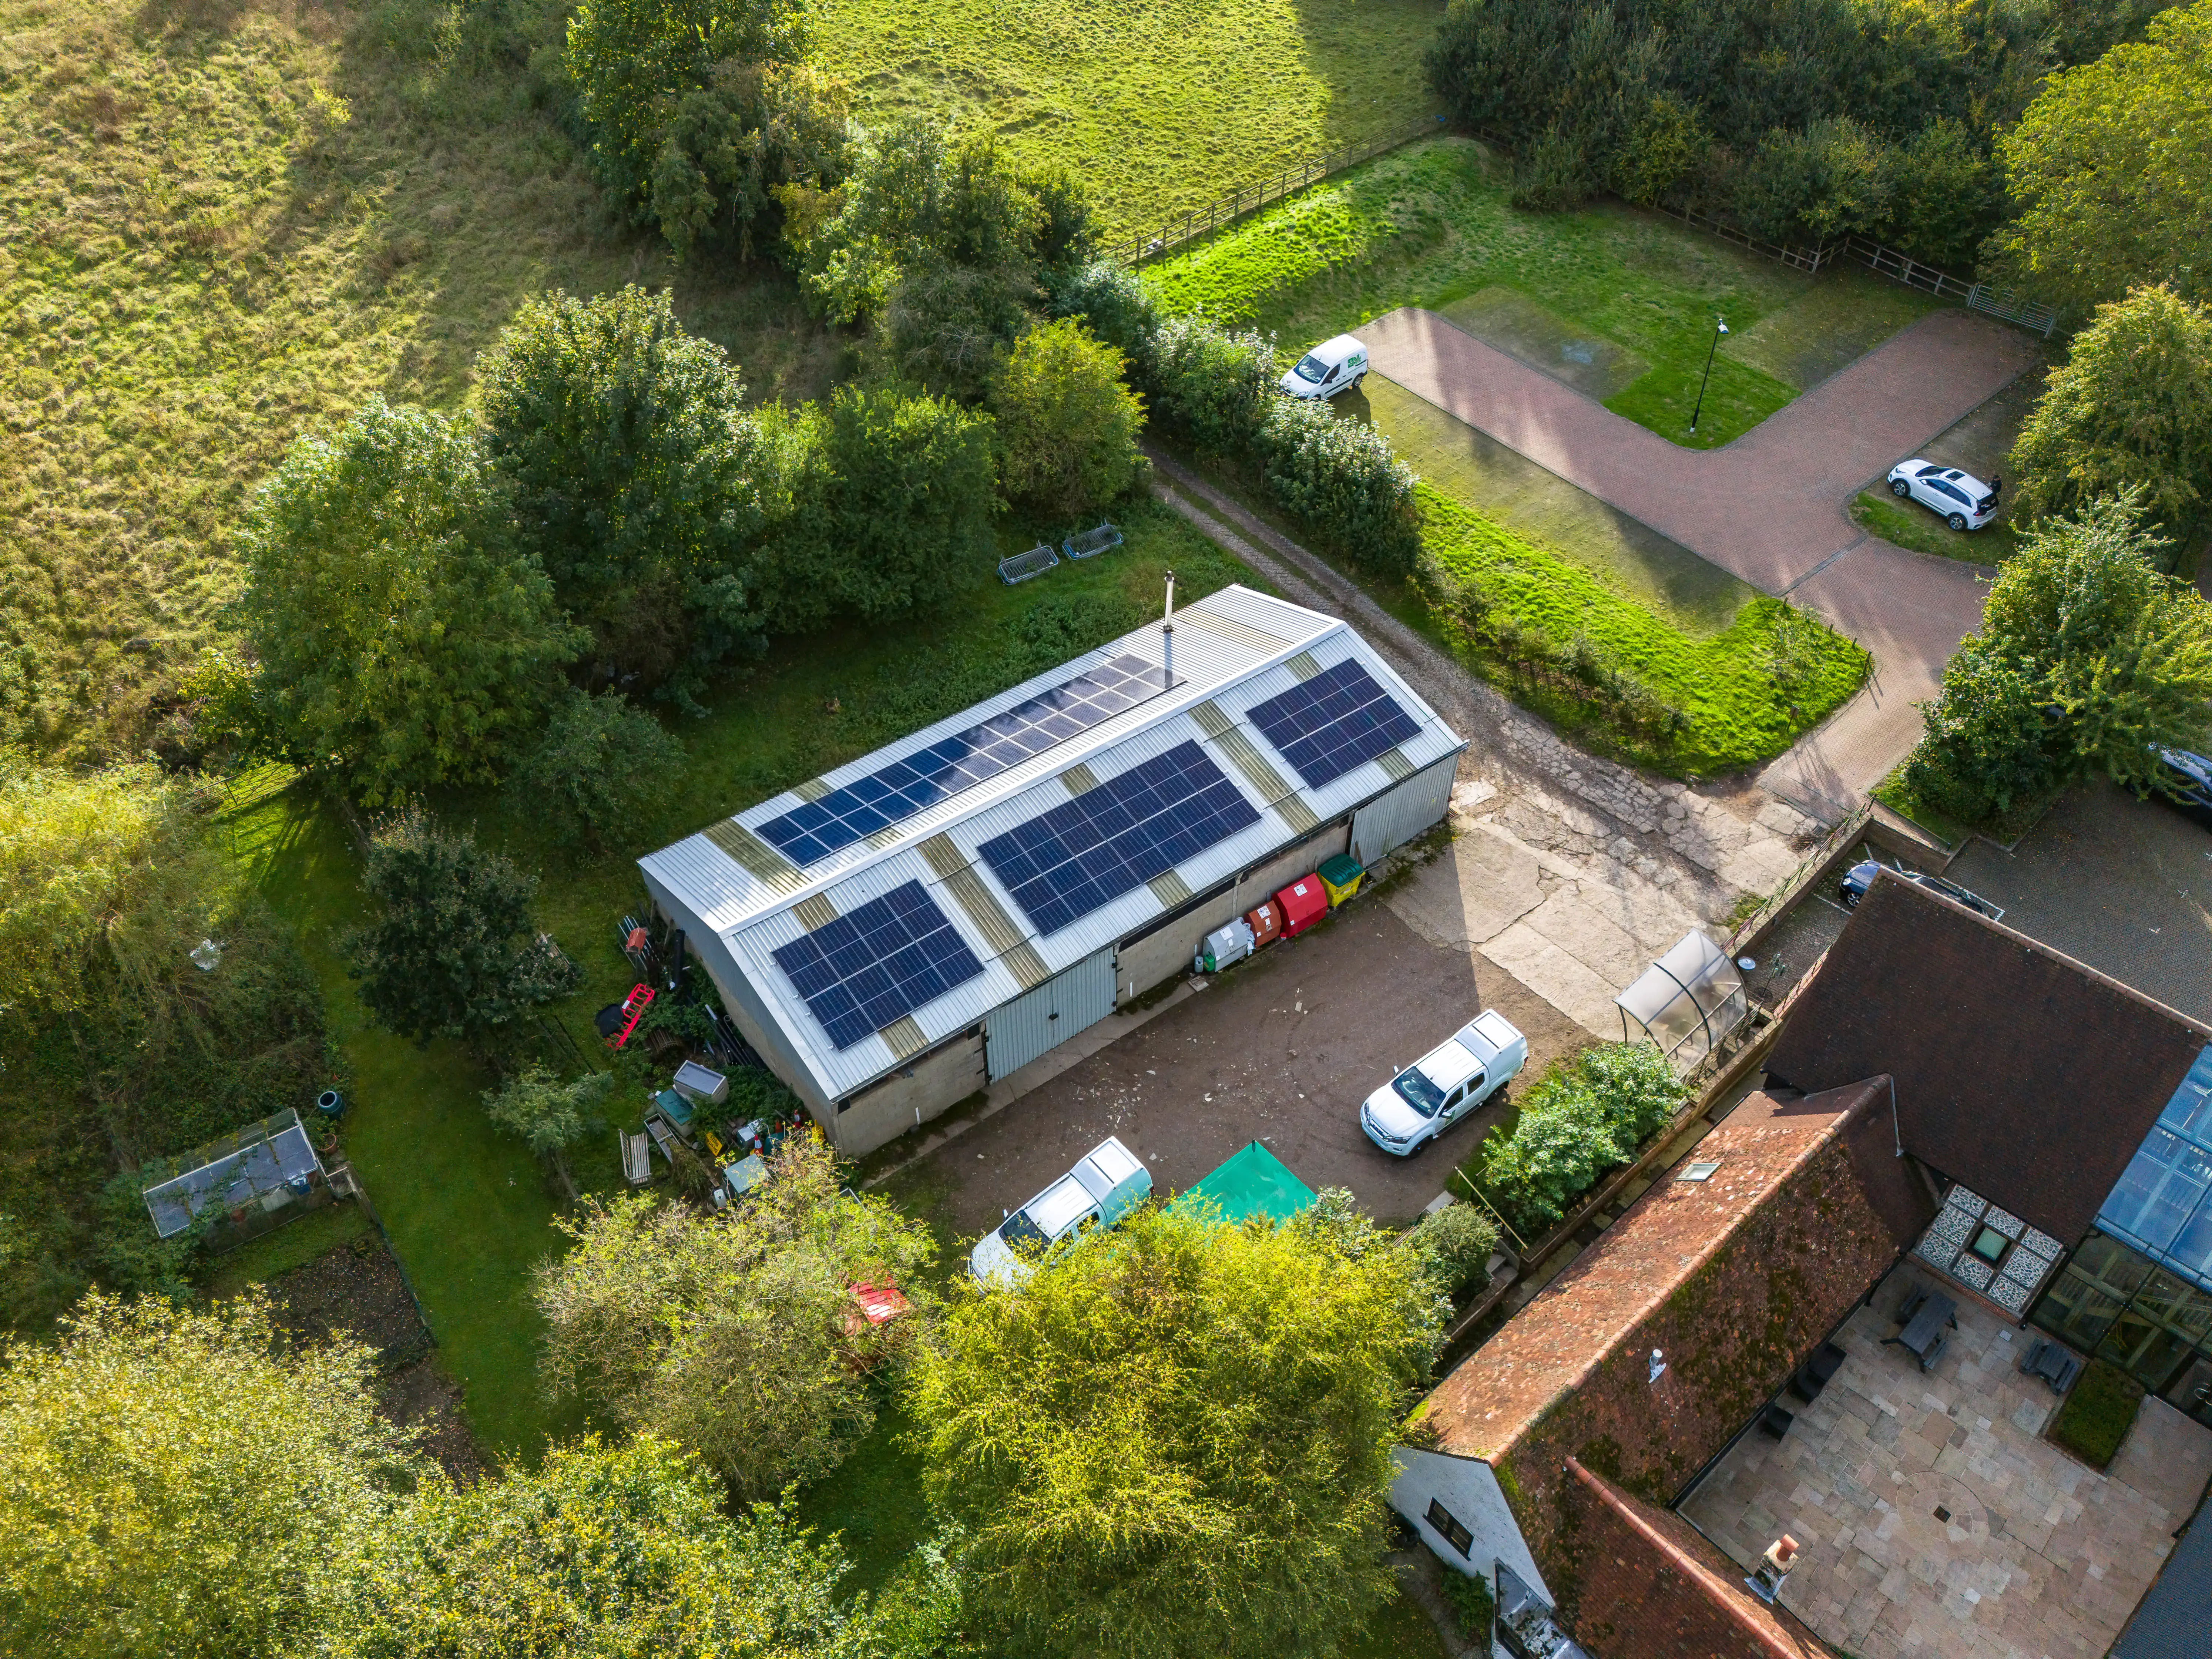
To help you understand a retrofit installation of solar photovoltaic panels we have broken it down into its individual stages
To help you understand a retrofit installation of solar photovoltaic panels, we have broken it down into its individual stages.
If you would like more information about solar panel installations or would prefer to speak to someone, you can contact us on 01494 773400.
Components required for a solar PV installation
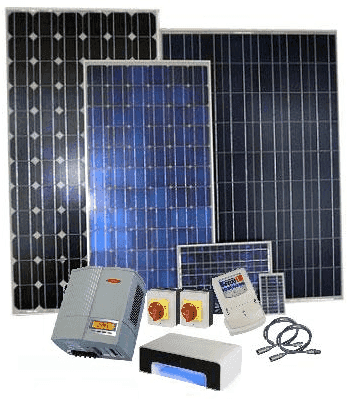
Solar panels
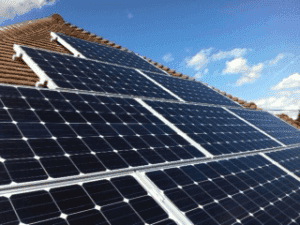
All the solar panels in our range use a solid aluminium frame to encase the individual solar cells. Aluminium is light, strong, and stands up against the elements. This gives the panels a rigid shell and allows them to be securely screwed or clamped to your roof. Panels vary in weight between 13 and 50kg depending on their size and manufacturer.
For detailed specifications of all the panels in our range, see our solar panels pages.
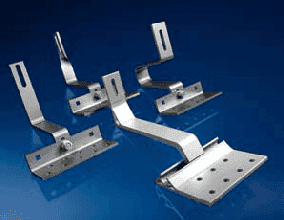
Roof anchors
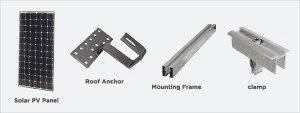
Roof anchors are aluminium or steel components that screw directly into the rafters, forming the base of the mounting system. The type of anchor used depends on the characteristics of the existing roof tiles and the height and spacing of the roof batons. The majority of the anchor fits under the tiles with only a small portion of its tail visible. This tail connects the anchor to the frame.
Mounting systems
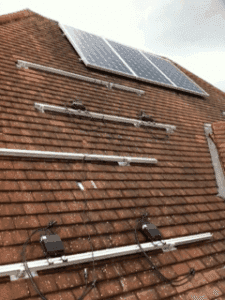
Once the roof anchors are secured, the frame is attached using a specially engineered locking system to prevent movement, tightened with conventional bolts.
The frame consists of two parallel aluminium bars for each row of panels. The panels sit directly on the frame and are attached by clamps. End-clamps secure panels at the ends of rows, while mid-clamps secure panels in between and ensure even spacing (usually 20mm) for aesthetics. At least four clamps are used per solar panel, with variations for each brand.
The solar PV installation
Positioning the roof anchors
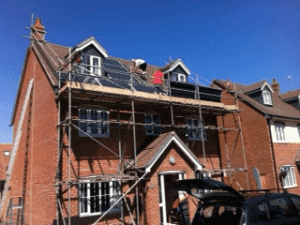
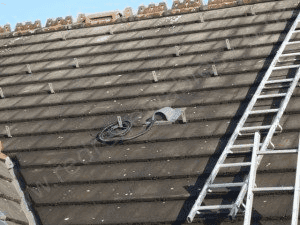
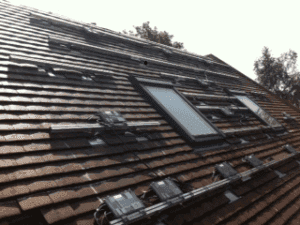
It’s crucial to position roof anchors carefully to ensure proper panel installation. The rafters under the existing roof tiles are identified and the anchors are placed on top of the tiles while measurements are taken to ensure the aluminium frame will sit straight.
Once the anchor position is determined, tiles are temporarily removed for anchor installation. After securing the anchors, the tiles are replaced to maintain watertightness.
Next, the aluminium bars are locked into the anchors and checked for alignment. If necessary, bars are spliced together using additional aluminium strips and bolts.
Attaching the frame
The frame is attached to the secured roof anchors and aligned to ensure the panels will fit correctly. The straight, parallel bars form the foundation for the solar panel rows.
Installing the solar PV panels
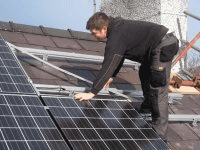
With the frame complete, panels are attached using clamps. Panels may be installed by row or column, depending on the situation. Aligning the panels parallel to the row above is critical for aesthetic and functional success.
Wiring the panels
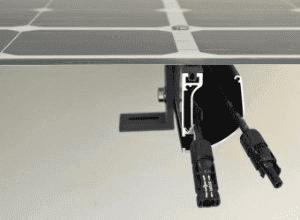
Solar panels are pre-wired by the manufacturer, simplifying rooftop connections. Smaller systems connect a single series to one inverter, while larger systems may use multiple parallel series or multiple inverters. Shading and panel positioning influence the wiring design.
Installing the final PV panel
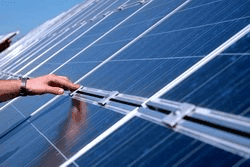
Once all panels are clamped and aligned, the final wiring is connected to bring DC cables from the rooftop to the interior for integration with the home’s electrical system. Wiring often enters the property through a hole in the wall or via the eaves, sealed to remain watertight.
In the house
Inverter and isolator switches
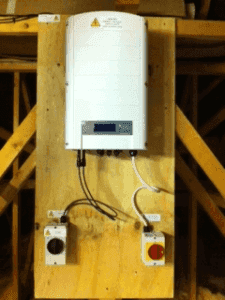
The inverter, usually located in a loft or garage, converts DC from the solar panels to AC for home use. DC cables connect to a DC isolator switch and then to the inverter. The inverter is selected based on the array's size and must match the solar module specifications. It is mounted securely and positioned to allow airflow.
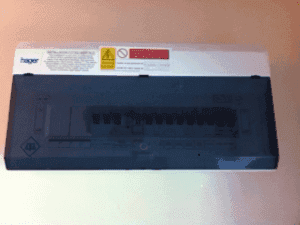
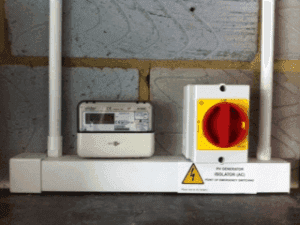
AC cables run from the inverter to an AC isolator switch, through a generation meter, and into a 16-amp mini circuit breaker on the home’s consumer unit.
Consumer unit and generation meter
Once the system is connected to the national grid, it begins generating electricity for your home, allowing you to reduce your dependence on external power sources.
Generation Meter and AC Isolator switch
Your solar PV installation is now complete.

Posted by
Heidi Drewett
Marketing Manager
, Chiltern Solar
Heidi is consistently striving to provide you with the most accurate and helpful information about your solar solution.
Share this article
We'd really appreciate you helping to get the word out, you can share this page via any social media channels or to friends and family via WhatsApp.
Other recommended news items
In our news items, we share company updates and commentary on wider events within the renewable energy market.

